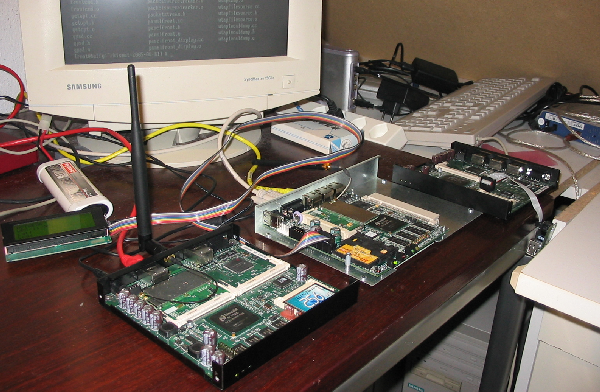
| Wardriver Box | |
 For Building a Development envoriemed and a first installation of OpenBSD on the CF card, you mus follow this basic installation and download the newest version of flashdist form http://www.nmedia.net/~chris/soekris/ we used this beautyfull script, to install the BSD on the System. This describs the installaion of a NET4801, but it can easy convertet to WRAP. i worte some notes for WRAP. 0064 Mbyte Memory CPU 80486 133 MHz Pri Mas ATA_FLASH LBA 489-4-32 31 Mbyte In the sample above, 489-4-32 represents the Cylinders-TracksPerCyl(Heads)-SectorsPerTrack, the C-H-S values Connect your serial console to the Soekris box (19200 baud). Plug in the flash card to your Soekris box, turn it on, and note the C-H-S values in your serial console session. Write them down. Flashdist will ask you for them when you run it. (If your Soekris box does _not_ display these values, use the instructions at the Soekris web site to upgrade to the 1.15 or newer BIOS) Sam fpr the WRAP Box: ((38400 Baud) PC Engines WRAP.1C/1D/1E v1.08 640 KB Base Memory 130048 KB Extended Memory 01F0 Master 848A Flash Card Phys C/H/S 1002/16/32 Log C/H/S 1002/16/32 ROM segment 0xe000 length 0x8000 reloc 0x00020000 Etherboot 5.3.12 (GPL) http://etherboot.org Drivers: NATSEMI Images: NBI PXE Exports: PXE Relocating _text from: [00089370,0009b230) to [07eee140,07f00000) Boot from (N)etwork (D)isk or (Q)uit?here you must writre down following numbers: (C/H/S) 1002/16/32
(Be sure to use the p option with tar or else files will not be extracted with the correct permissions and your installation [at least sshd and login] will not work properly!) mkdir /tmp/openbsd cd /tmp/openbsd tar xzpf /path/to/base31.tgz tar xzpf /path/to/etc31.tgz(alternately, you can specify / rather than /tmp/openbsd below to install from your current OS image) NET4801 file can be found on flashdist distribution or here NET4801" cp /path/to/NET4801 /usr/src/sys/arch/i386/conf/NET4801 cd /usr/src/sys/arch/i386/conf config NET4801 cd ../compile/NET4801 make(alternately, you can specify / rather than /tmp/openbsd below to install from your current OS image) WRAP file can be here WRAP" cp /path/to/WRAP /usr/src/sys/arch/i386/conf/WRAP cd /usr/src/sys/arch/i386/conf config WRAP cd ../compile/WRAP makeOf course, whatever kernel you compile should be built the same source as that of the userland you install. Or, if you are using a snapshot to install from, at least try to build a kernel using sources from a close date to that of the snapshot build. tar xvf flashdist.tar cd flashdist vi rc ./flashdist.sh sd2 flashsmall.txt /usr/src/sys/arch/i386/compile/NET4801/bsd /tmp/openbsd That should get you a bootable CF media for your net4801. If you have problems booting, you need to follow the instructions at the top of the script to get the right geometry.
Modifying the flash after bootWhile you are logged into the net4801's serial console, you can use vi and other curses applications by setting your terminal type, such as:export TERM=vt220For all use, if you want to make changes to the read-only media while logged in, do this: mount -o rw,noatime /dev/wd0a / Make your changes, and then mount it read-only again: mount -o ro /dev/wd0a /
WRAP hintsModifying Files on flashdist directory:file for correct display speed on startup: boot.conf set tty com0 stty com0 38400ttys, change only this line tty00 "/usr/libexec/getty std.38400" vt100 on securefor LED and Button Function, add "sh MAKEDEV gpio" in the flasdist.sh file, or/and "sh MAKEDEV usb" for usb support 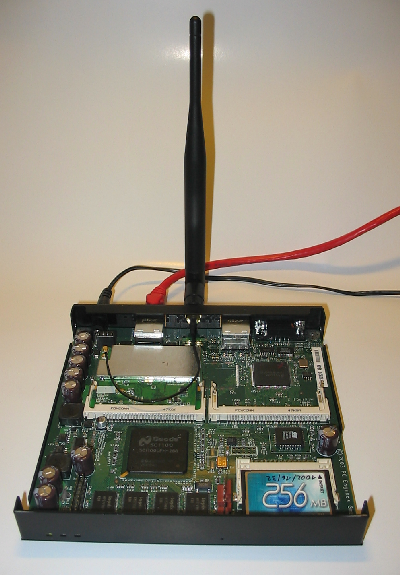 NET4801 hintsModifying Files on flashdist directory:file for correct display speed on startup: boot.conf set tty com0 stty com0 19200ttys, change only this line tty00 "/usr/libexec/getty std.19400" vt100 on securein the flasdist.sh file, or/and "sh MAKEDEV usb" for usb support 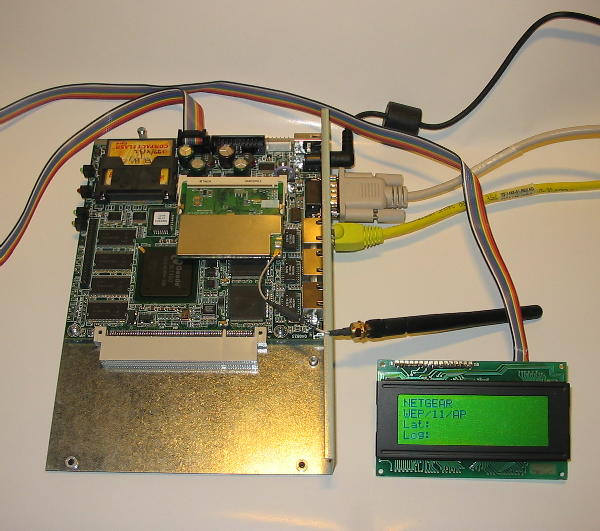 Kismet Config FilesDownload kismet source and build kismet on the master system.after that, copy the files to the Wardriving Box, and modify the kismet config files, for propper work.here our files: kismet.conf kismet_ui.conf without anny warranty, we are trying to tune the configuartion, fpr reducing the size of dump files etc.. More after WHAT THE HACK,there we plan to complete the WHOTO, and build some add. scripts and config files for the box come and join to us.....for feedback, send a mail to us. wardriver@wardriving.ch Creating a virtual disk image with flashdistIf you want to use flashdist to create a disk image, rather than work on an actual flash disk, use vnconfig(8). This method will only work if you manually specify the geometry to flashdist. First, you need to create an image of the correct size for your flash cards:dd if=/dev/zero of=flashimg bs=512 count=125440Where bs, the blocksize, is equal to the bytes per sector used on the flash media (almost always 512), and count as the total number of sectors. In this example, the total number of sectors is 125440, but of course this differs with each type of flash card or hard disk. It is calculated as C*H*S, where C is Cylinders, H is Heads (tracks per cylinder), and S is Sectors per track. Once you have the image file, you need to make it look like a regular disk. vnconfig -c svnd0 flashimgNow you can use the svnd0 device with flashdist, instead of sd0 or another actual disk on the system. When you are done installing to the the flash image, you need to unconfigure it from the kernel before you use it. vnconfig -u svnd0Now the file 'flashimg' is your disk image and it is ready to be written to flash. dd if=flashimg of=/dev/sd0c
|
| 13.6.2005 | By
chw + stoege |